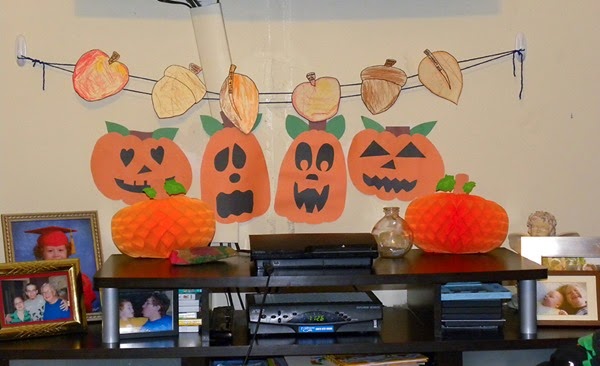
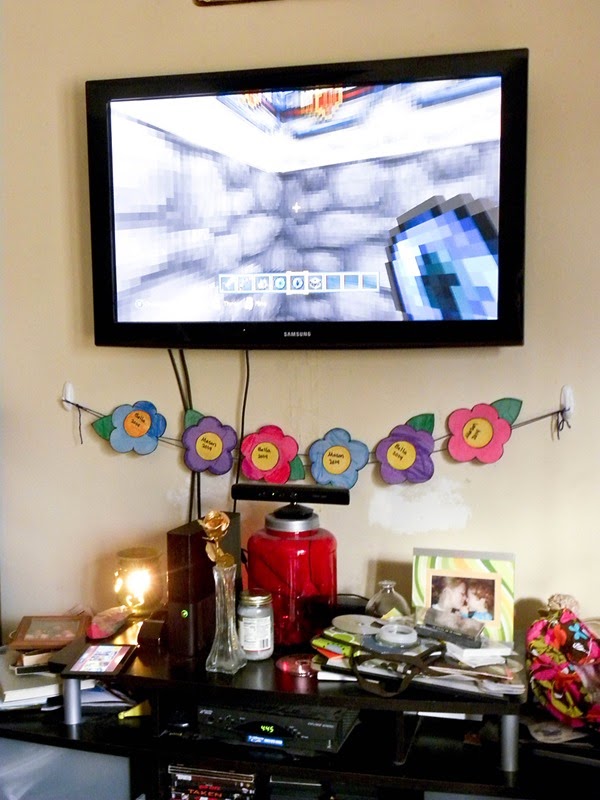
Last week I got this weird bug in me to clean and rearrange my living room. Call it spring cleaning if you like – I won’t – but the nice weather after the never ending winter had me feeling inspired. After all the cleaning and rearranging was done I realized that there was one sore part left – under the tv. While the pumpkins had all been taken down long before, our fall banner had ended up carrying on from the time we put it up to now. (Hey, the kids liked it, and I never got around to making a winter banner) So the day after the cleaning and rearranging I decided it was time for us to make a new spring banner to replace it.
Continue reading to see the supplies, get directions, and see our banner!
Supplies: 1 piece of yellow construction paper, 1 piece of green construction paper, and three pieces of construction paper for your flower colors, plus 1 piece of extra paper. (we used red, blue, and purple) 3 notecards (or small pieces of sturdy cardstock), 6 popsicle sticks, tape, yarn, a kid sized cup, a black marker, scissors, glue and crayons – I gave the kids two similar colors for each color of paper.
To put the banner together…
Use the cup and trace a circle on to your extra paper, cut it out, lay it back on your extra paper and then using the cup trace 5 overlapping circles around it (the petals for your flower), cut out as one piece. Draw a leaf shape on to the last bit of the extra paper, and then cut it out.
Using your first circle trace six of them onto your yellow paper. Then using your petal cutout trace two onto each of your flower color construction papers. Lastly trace six leaves onto your green paper. Do not cut any of them out yet.
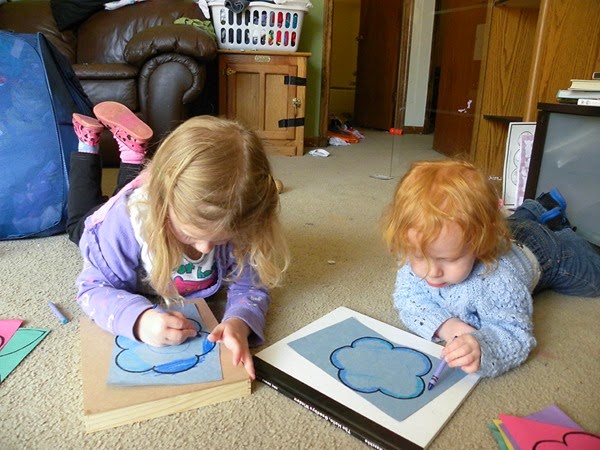
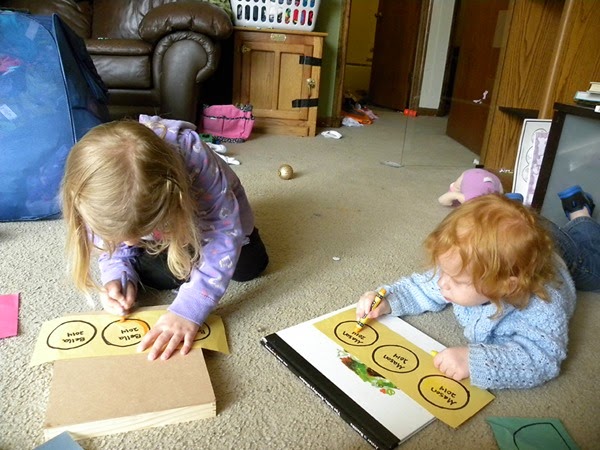
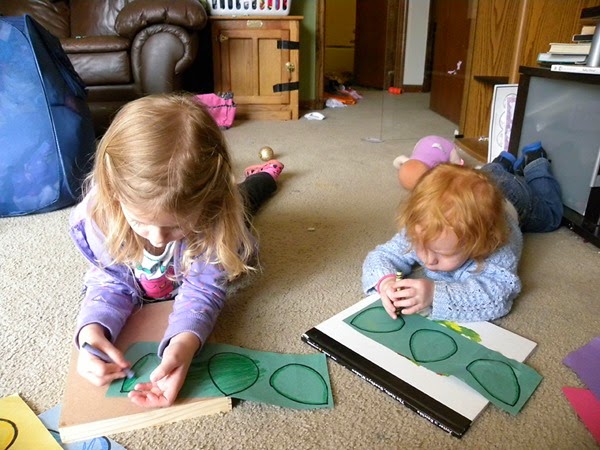
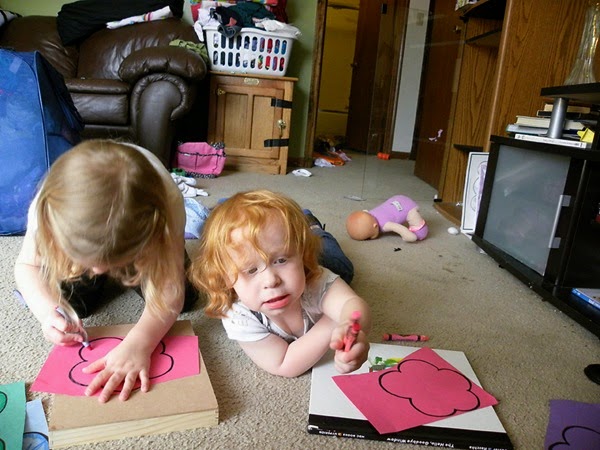
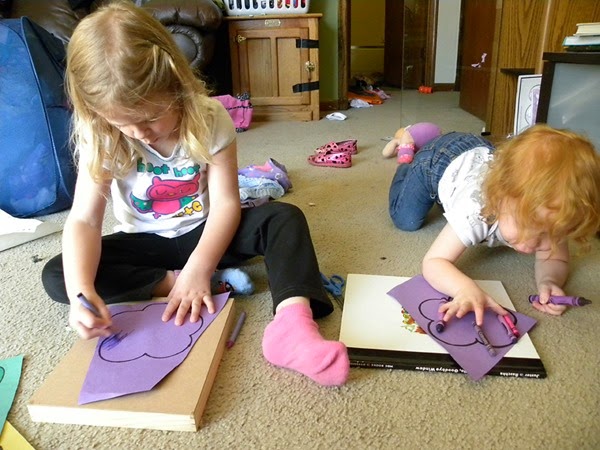
Give the papers to the kids for them to color – I found it less time consuming to give them the yellow and green first, then the flowers, and then for me to cut them out as they finished coloring them.
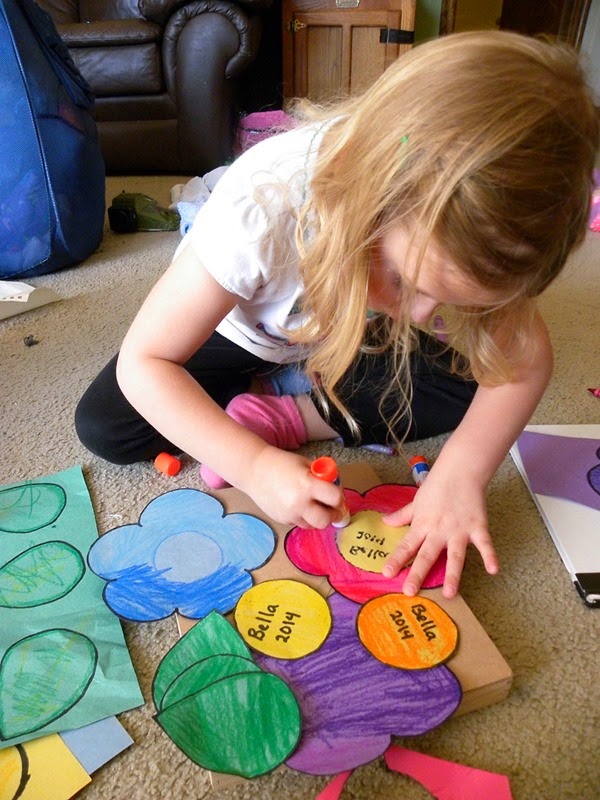
Give them the glue and let them glue the leaves and middles onto the flowers.
Cut off two pieces of about 4 feet of yarn.
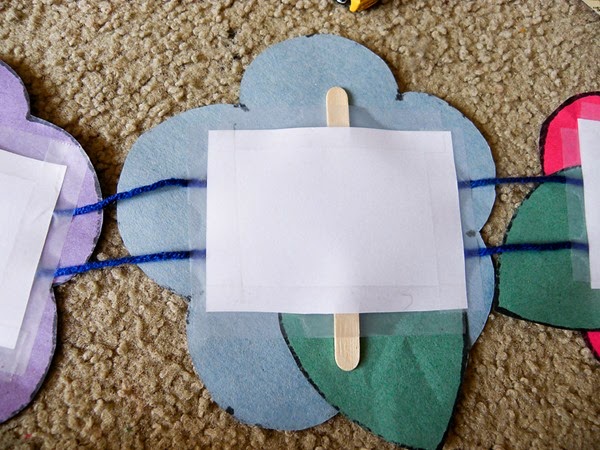
Tape the popsicle sticks to the notecards.
Lay out your flowers, upside down in the order you want them to go with a little bit of space between them. Lay the yarn over the middle of the flowers putting a little bit of room between the two pieces. Tape the popsicle stick notecards over the yarn and center of the flowers.
Hang the banner up and enjoy!
Hey, and don’t forget! If you like the post feel free to share or pin it (hover over image and a “Pin It!” button should appear in the top corner of the image). Also, take a moment to click this link and vote for the blog. You can vote up to once a day every day.


No comments:
Post a Comment